New or old Mesh extender set up manual
Note: If you have a mesh extender follow the instructions below and if you do not have mesh extender
Getting trouble with your device, tell experts and get an instant solution on live chat window
NOTE: The instructions below apply for all
Mesh Extenders
Mesh extender set up
Mesh extenders boost up the coverage of your home wifi to every corner of your home.If you a mesh extender, all you require is the pairing of your extender with your home wifi
For a successfull connection, some of the prerequisite required are
- Place the extender in the same room, as your wifi router.Close proximity to the router is required only during the initial set up.After you get the connections, you can place the extender to your desired position.
- Plug the extender to a power socket which should give the power to the extender without any interruption.
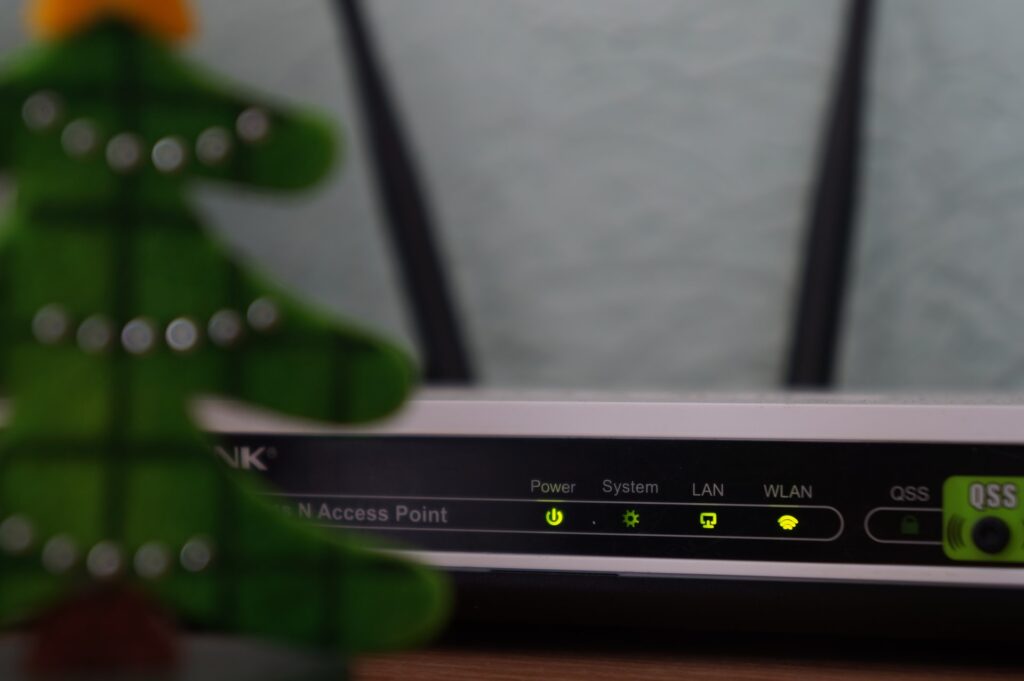
- Before the set up wait for the power light, it must be solid green or blue.
Extender set up methods
- Extender mode
- Access mode
There are two ways mainly use to connect the mesh extender in extender mode.
connect with wps connect with mywifiext.net set up or web browser set up
Connection with wps
- Place the extender in a power socket with a close proximity to your router.
- Press the wps button from the extender and within 2 minutes press the wps button the router. Once you have the connection between router and extender, the wps led and router led on your extender will be solid green/blue.If you do not have the connections try again or try the web browser installation.
- Unplug the extender and plug it to your desired location.Wait for the wps and router lights to be solid green/blue.If the lights are solid green/blue it means you can use the extender in that place.
Connection with web browser installation
- Open a web browser and type the ip address(192.168.250) or web address of the extender
- You will be prompted to new extender set up page.
- Click on new extender set up page.
- Web browser set up will scan all the nearby networks.
- Select your home network SSID and click on next.
- Type in the network security key and click on next.
- you need to follow the onscreen instructions next.
Sometimes when you try to do the web browser setup for mesh extenders, you can get an error message, if you get the error message follow the instructions below and try again.
- Bring your range extender into the same room as your wireless extender. While installing the range extender close proximity to the router is required.Once you get the connections, you can unplug the extender and place it where you need it.
- Make sure that the range extender is plugged into a proper power source.If the extender is receiving power, the power LED lights should be solid. If there is interrupted power supply while the set up, there are high chances of dropping connections between Netgear Extender and your home router.
- If there is any browser issue, try to change your web browser(Google chrome and Microsoft edge are recommended).If you are getting an error “this site cannot be reached” or “404 error” then you must try to refresh your browser.
- If still you are getting the error, try to reboot your extender. After you reboot your extender, try to go through the range extender set up again and hopefully you will get the connections.
If you are getting trouble in connecting your range extender,you can get an instant solution on our live chat window below
Ext smart set up
- Launch a web browser from a wifi enabled device like computer or cell phone.
- A log in page will appear. Type in admin username and password.
- After you log in, it will show you a smart set up button. Click on that and follow the on screen instructions to make the changes.
firmware update process
- launch a web browser from a wifi enabled device like computer or cell phone.
- Log in to the extender
- Click on the settings>update
- Check online page displays.Click on check online.If new firmware is available it will ask you to update the firmware or it will show you firmware is uptodate
frequently asked questions
On the login screen, click the Username & Password Help link to answer the security questions you set up during the initial setup.
If you forgot the answers to your security questions, do the following to set up your login credentials again:
- Reset the extender to its factory default settings.
- Launch a web browser.
- Enter www.mywifiext.net in the address field of the browser.
- The login screen displays.
- Click the NEW EXTENDER SETUP button.
- The Create Account screen displays.
- Complete the fields to set up your user name and password
If the web set up page is asking you to enter the correct password even though you enter the correct password it means you plug in the extender at a place where you are getting no range or a little range from your router. In this case try to move your extender closer to your router. If still you are not getting the range, try to reset the extender and make the connections again.